Managing multiple jobs and feeling the chaos? See a simpler way to stay in control—without bloated enterprise software.
Get a personalized demo →
This chapter touches on best practices for estimating projects and being prepared for inevitable change requests. Get ready to learn a whole new set of project estimation techniques because you’re about to become the best project estimator in the business.
Project estimation is the process of forecasting the time, cost, and resources needed to deliver a project. It typically happens during project initiation and/or planning and takes the project’s scope, deadlines, and potential risks into account.
Every business has a budget and wants to know if a project is worth the costs before they invest in it. A project estimate gives you and your stakeholders a general idea of how much time, effort, and money it’ll take to get the job done.
That makes it easier to build a feasible project budget and plan so you can set your team and organization up for success.
Easy drag and drop features with templates for faster scheduling. Plan a project in minutes, collaborate easily as a team, and switch to calendar and list views in a single click.
Create your free plan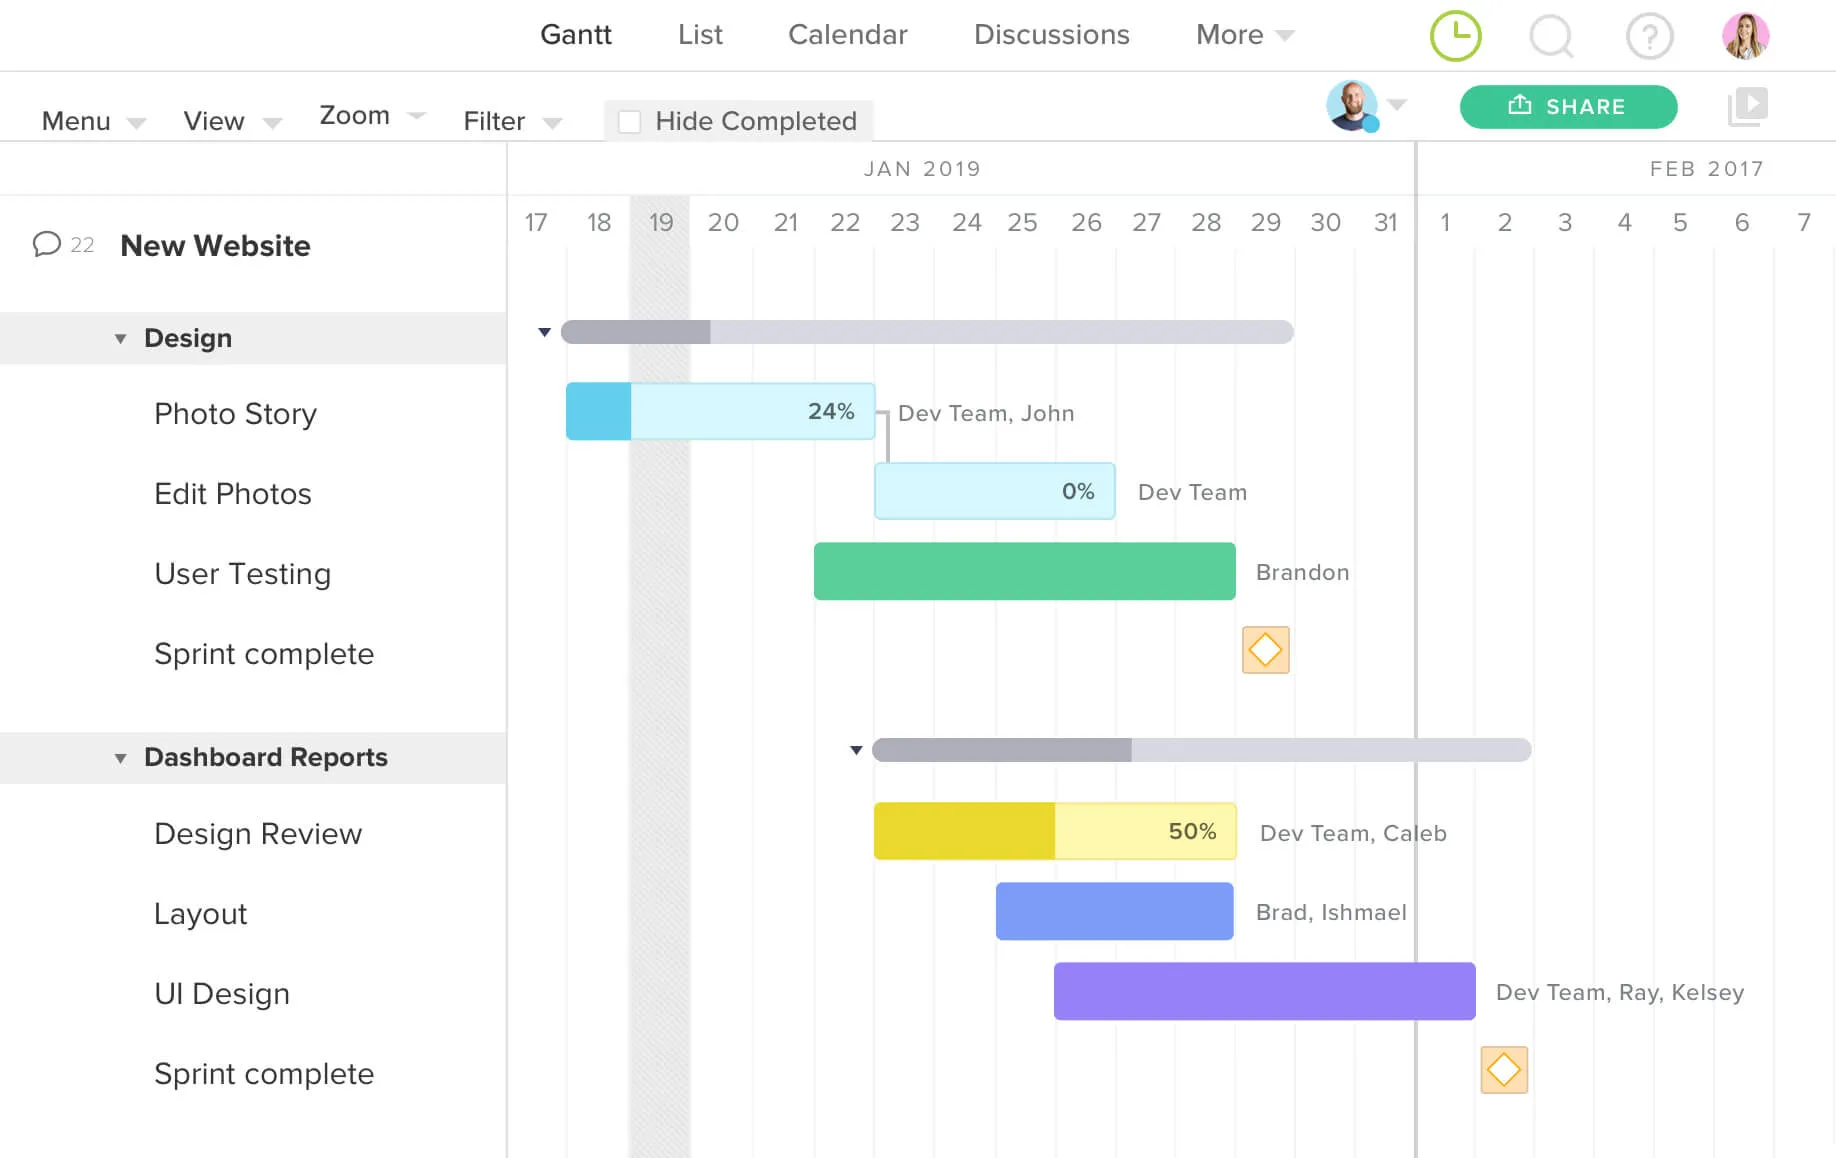
Want to be better at estimating projects? Sometimes project managers focus too much on the numbers and not enough on the people.
Good project estimation techniques are built on solid working relationships. That’s because, the more you know about someone’s work and process, the easier it is to estimate their work.
A stronger understanding of—and collaboration with—your team will help your projects come in closer to your project budgets.
Here’s the thing: To estimate projects successfully, you MUST engage in the work. Having a solid understanding of what each and every team member actually does on a daily basis can help you avoid problems down the road.
If you really want to know how or why someone does their job, just ask them! As a project manager, one of the best things you can do is be genuine and honest about what you don’t know. It might sound silly, but most project managers feel like they’re supposed to know everything. You don’t, and that’s okay.
Remember: It’s better to admit what you don’t know and ask questions from the get-go. This not only gives you an opportunity to connect with your team on an individual level. It also helps you understand the inner workings of different types of projects—and their appropriate budgets. After all, figuring out the steps one person takes to create a deliverable will work wonders in helping you calculate a true and accurate project estimate.
Once you’ve got a good grasp on who does what and how, it's time to move on to the next step of project estimation: understanding how work gets done in your organization.
You may work for a company that abides by a singular method like Agile or Waterfall. In that case, study that process, know all your dependencies, and run with your estimates.
Does your organization prefer a hybrid approach with room to experiment? Make it your mission to understand how things are done and what might happen to your project schedule if you shift things around. For instance, if you work in construction project management, will painting baseboards before installing carpet have a huge impact on the quality of work or time needed to get the job done?
Do everything you can to understand your process, but don’t just read a book or a manual. Feel free to ask how, why, and when things are done. The more you know, the better you can strategize with your team or clients to find alternate ways to make project estimates work and save on effort.
Be sure to talk about the process you’d envision taking on when estimating projects, as it will impact how you think about effort and scope. You never want to sign on for a project your team isn’t invested in.
No matter where you work, things will change. A career in project management means you have to always stay on top of trends, changes, and deliverables in your industry. It isn’t easy, but it’s worth it because it will directly affect your success as a project manager.
So how can you improve your project estimation process?
Read relevant trade publications, websites, and blogs. Attend training and networking events. There are growing numbers of local meetups and conferences on project management and estimation.
It’s also important to understand different approaches for estimating projects so you can determine what works best for you. Here are a few project estimation techniques you may want to learn more about:
Without a doubt, historical data can help you with new projects. When history’s documented, you can analyze the information to help you create better estimates.
This will give you a better sense of a project’s overall level of effort. It’s not about playing big brother to make sure people are doing their work. It’s being honest about what it takes to get the job done while also being profitable.
Of course, every project is unique. But seeing how long your team spent on a certain task or deliverable will give you a sense for estimating a similar task on a new project.
If nothing else, review your project history to make sure you’re not habitually underestimating project costs or hours.
As project managers, we tend to underestimate project tasks, thinking we’re doing our clients and team a favor. But underestimating a project does everyone a disservice and causes stress when budgets and timelines go over their estimates.
You can mark your originally planned schedule, compare it against your actual work as the project progresses, and note where there might have been issues and how those issues might have impacted your level of effort. This will help you determine where you have room to improve your estimation of certain project tasks.
Whether you’re estimating a project based on a Request for Proposal (RFP), a discussion, or a brief written message, you need to know every possible detail of the project before you can provide a realistic estimate.
These are the things that could cause your project to go over budget: time, cost, and scope. If you keep track of these 3 things, you’ll be a better project estimator. You can use our project management software to help estimate your RFP.
Here are some questions that can help you estimate project time and budget more accurately. This list could go on and on depending on the level of information you’re provided.
If your client isn’t inclined to answer every question, take it as a sign. If answering important questions now is too much to help you form a good estimate, will being a good partner when the project is underway be too much for them too?
Use your judgment in this respect. Not every estimate becomes a real project, so not every request needs to become a real estimate.
Easy drag and drop features with templates for faster scheduling. Plan a project in minutes, collaborate easily as a team, and switch to calendar and list views in a single click.
Create your free planA work breakdown structure (WBS) is a project planning technique that breaks a project into smaller components. Creating a WBS for any plan or set of tasks helps you get granular about the work that needs to be done on any given project.
If you can map it all out and estimate each element, you should be able to create a solid project estimate. Learn how to create a work breakdown structure for your projects, and download a free WBS template.
This step provides a framework for detailed cost estimation, as well as guidance for schedule development and control. Our example shows a basic WBS for a common deliverable—moving to a new house! Notice the tasks and subtasks we’ve taken into consideration. Is anything missing?

If you estimate your projects based on units—whether it be weeks, days, or hours—using a WBS will help you quickly understand if your project estimate will exceed the intended budget. Let's take our project estimation example further and assign estimated hours to each step.
Example: Pack current house - 8.5 days total
This estimate includes the time needed to wrap objects, pack boxes, and prep for movers. Here’s how the estimated timing breaks down by room:
This exercise can be extremely helpful during the sales process when a client tells you they have X dollars to spend. You can easily map a set of tasks or deliverables to something that works for both the dollar amount and the client’s goals.
Just remember, it could change when you dig into the actual work. (Time estimates should be based on a combination of experience and hypotheses.)
If a potential client comes back and says your project estimate is more than they want to spend, lean on your WBS to find opportunities to scale back. This enables you to create a project estimate that maps to a specific budget, while also working out a solid set of project requirements.
For instance, I could likely remove the cleaning step from my moving WBS to cut down the time and cost (though someone might be unhappy about that).
Using these project estimation techniques as a foundation for your project will help you with the final step: turning it into a project plan. TeamGantt gives you a more formalized way to outline your WBS and calculate a project’s time and effort.
If you’ve organized your project into phases, TeamGantt will automatically calculate the total estimate for each task group as you enter hourly estimates for individual tasks.
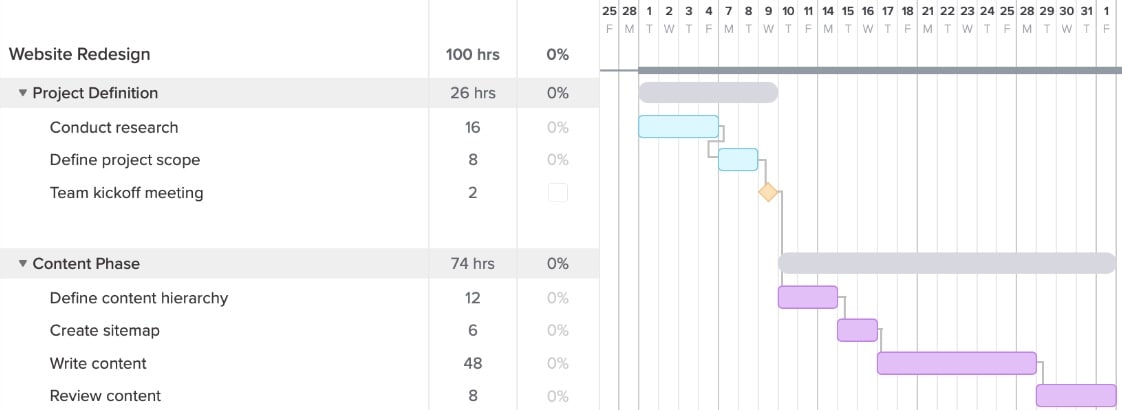
From there, you can schedule people and tasks against other project work.
Let’s take a closer look at how hourly estimation works in TeamGantt so you know how to add and assign estimates to your tasks and teams.
First, make sure Estimated Hours is enabled on your project by going to Menu > Project Settings > Enable Hours and selecting Yes. (Note: Hourly estimation is only available on Advanced plans.)

Once you’ve confirmed hourly estimation is enabled on your project, you’re ready to add estimates to tasks in your gantt chart. To assign hours to a task, simply click into the text field in the Estimated Hours column, and enter your estimate:

Don’t see the Estimated Hours column for your project? Click View > Estimated Hours to enable this column on your gantt chart.

One of the biggest benefits of using hourly estimation in TeamGantt is being able to determine your team's workload more accurately. To do this, you’ll need to take project estimation one step further by adding estimated hours to the people assigned to the tasks.
There are 3 different ways to add hourly estimates to people or labels. It all depends on your particular project scenario.


Note: When a task's length is changed—for instance, a 2-day task is extended to a 4-day task or vice versa—you'll be prompted to choose between increasing/decreasing users' assigned hours accordingly or leaving the daily assigned hours as-is. Learn how to set your hourly scheduling preferences.
Now that you’ve assigned estimated hours to your team, you'll have an even better understanding of how busy everyone is. Just click the Availability tab found at the bottom of your project's gantt chart, and toggle to Hours Per Day:

Any day that includes over 8 hours of work will automatically be highlighted in red to indicate a potential overload.
Sign up for a premium trial, and try TeamGantt with hourly estimation for free.
Ready to dig in and estimate a project of your own? Start with some practice so you’ll feel confident in your estimating skills.
Create an example project of your own, and list out all the steps that go into completing it. Then run it by one of your team members to see what they think. Did you miss anything? Did you underestimate the hours? Doing a test run will help you prepare for your first real estimate or hone your project estimation skills for your next one.
There’s no right or wrong way to create a project estimate. Your approach to estimating projects will include a mixture of project knowledge, historical review, client inquisition, and a ton of gut instinct.
Learn how easy project estimation and planning can be with TeamGantt. Try TeamGantt’s Pro plan free for 14 days!